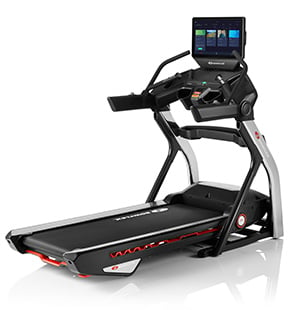
JRNY Digital Fitness
Adaptive Fitness-Mitgliedschaft
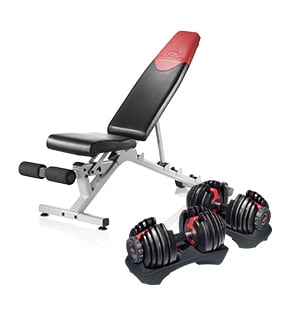
Unsere Marken
JavaScript ist in deinem Browser deaktiviert. Bitte aktiviere es, damit du alle Funktionen dieser Website nutzen kannst.