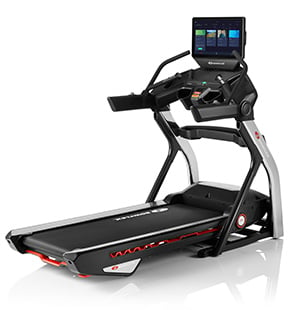
BXT226 / BXT116 Assembly Video
Below assembly video applies to both the BXT226 and the BXT116 machines.
Bowflex BXT116 Treadmill assembly.
This video is intended to be a supplement to the assembly manual provided with your product. Please be sure to read your assembly manual thoroughly as it contains important safety warnings and assembly tips.
Before beginning assembly of your treadmill, please open all boxes to confirm that all parts necessary are present. Do not cut the shipping strap on the base assembly until it has been placed face-up as shown in the appropriate work space.
Step 1: connect the input/output IO cables.
Step 1A: attach the uprights to the frame.
Do not crimp the cables. Do not fully tighten hardware until instructed.
Step 2: attach the crossbar to the frame assembly.
Do not crimp the cables. An R decal has been applied to the right side to assist with assembly.
Step 3: place the lower junction covers onto the uprights.
Do not let the cables fall into the upright.
Step 4: connect the cables.
Step 4A: attach the console assembly.
Do not crimp the cables. Do not fully tighten hardware until instructed.
Step 5: fully tighten all hardware from previous steps.
Do not crimp the cables.
Step 6: attach the handlebars to the frame assembly.
Do not crimp the cables. An R and L have been applied to the parts to assist with assembly.
Step 7: snap the upper and lower junction covers into place.
Step 7A: secure with hardware to the frame assembly.
Step 8: attach the crossbar tray to the frame assembly.
Step 9: attach the base shrouds to the frame assembly.
Step 10: connect the power cord and safety key to the frame assembly.
Step 11: inspect machine to ensure all hardware is properly assembled and fully tightened.
Enjoy your Bowflex BXT216 Treadmill!


